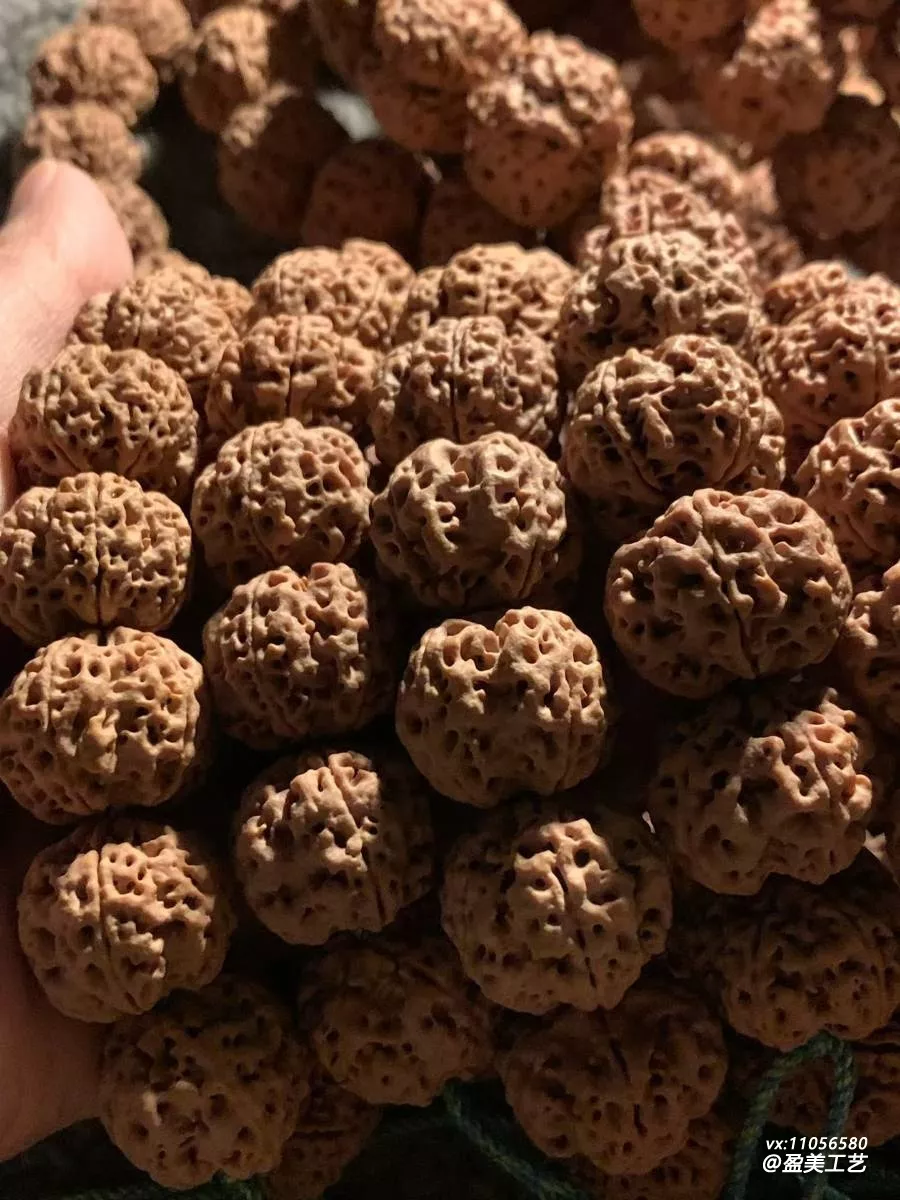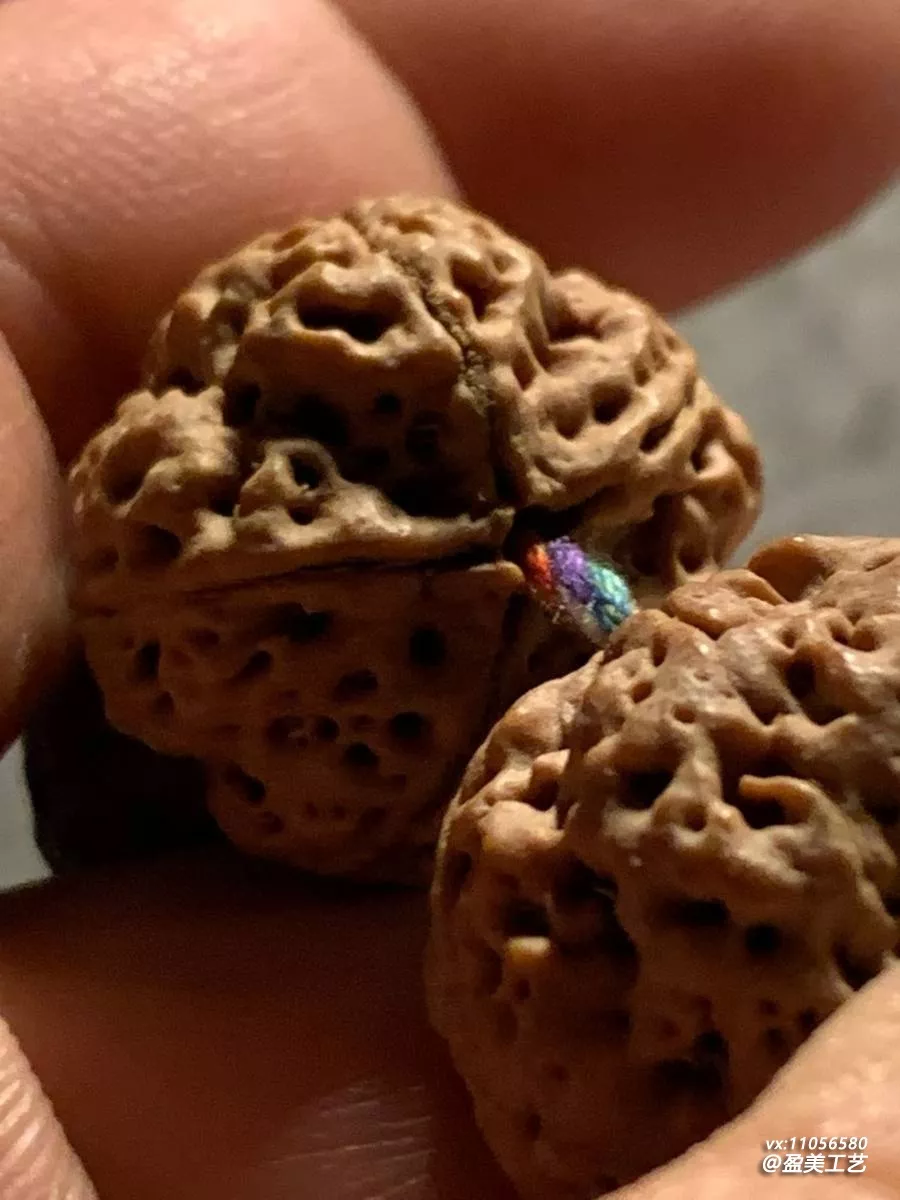
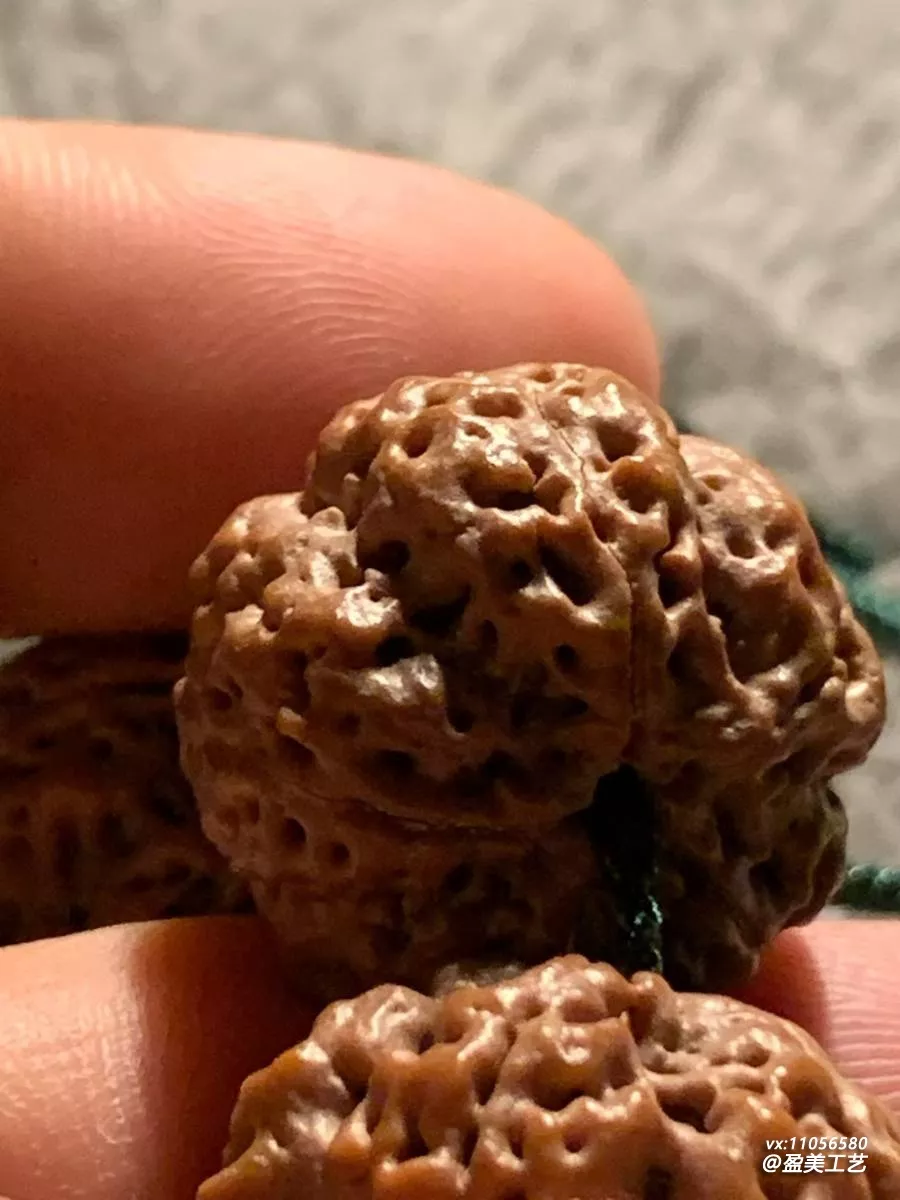
1. Getting a batch of raw seeds
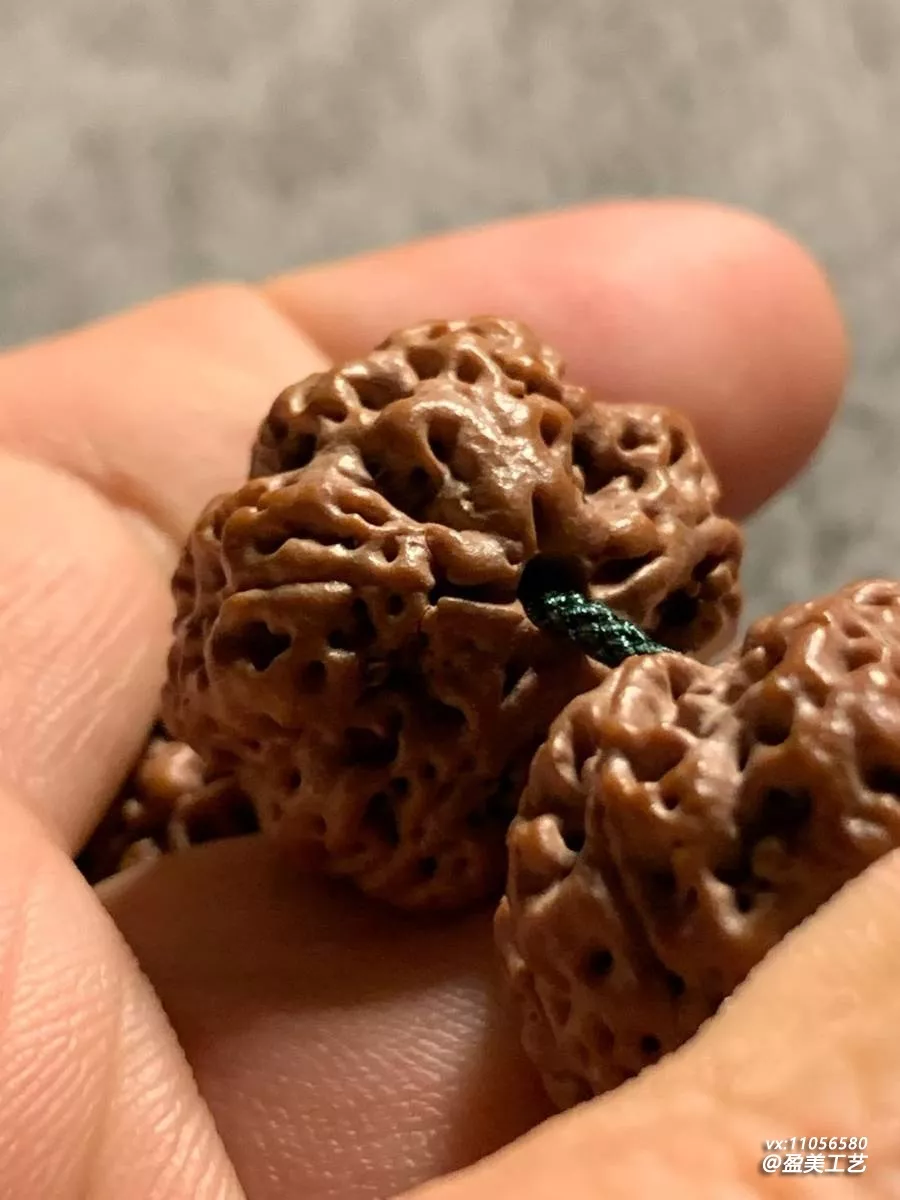
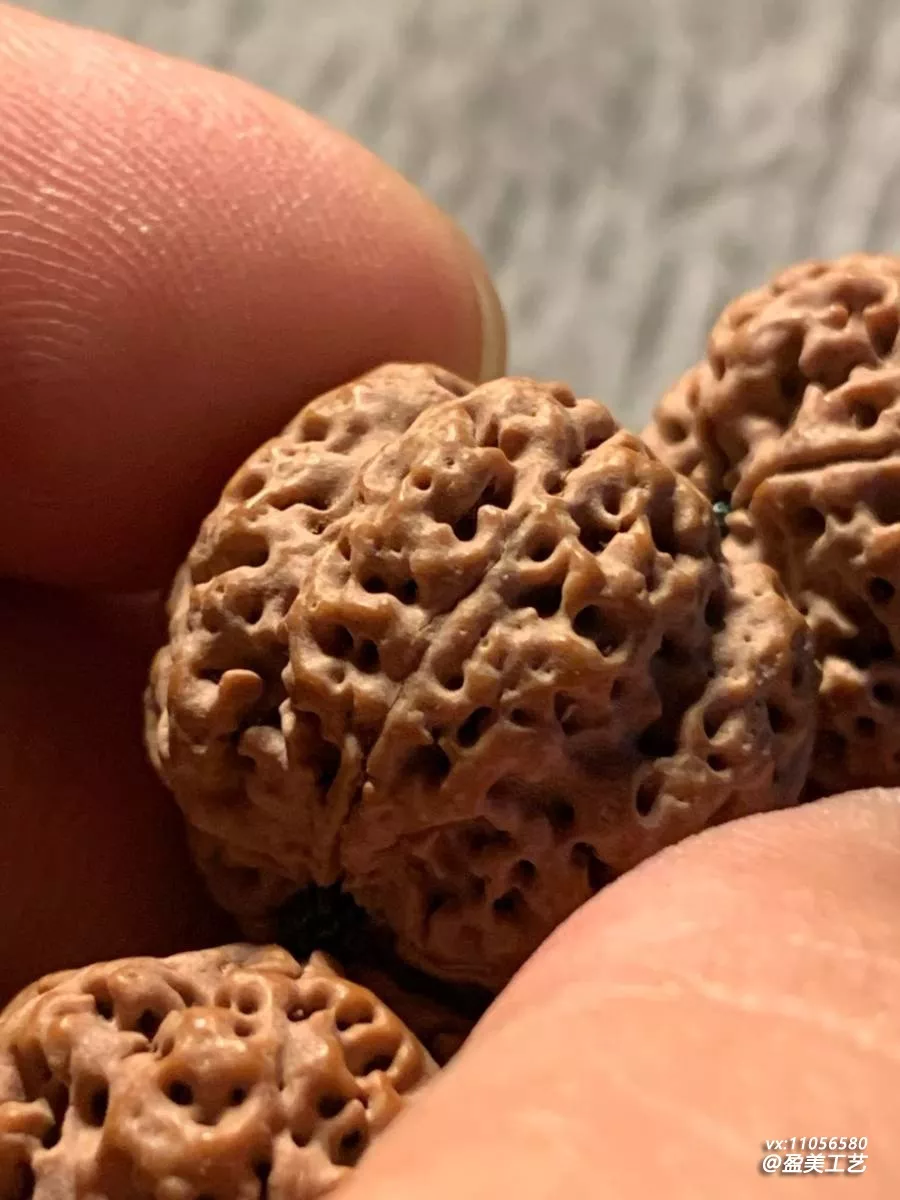
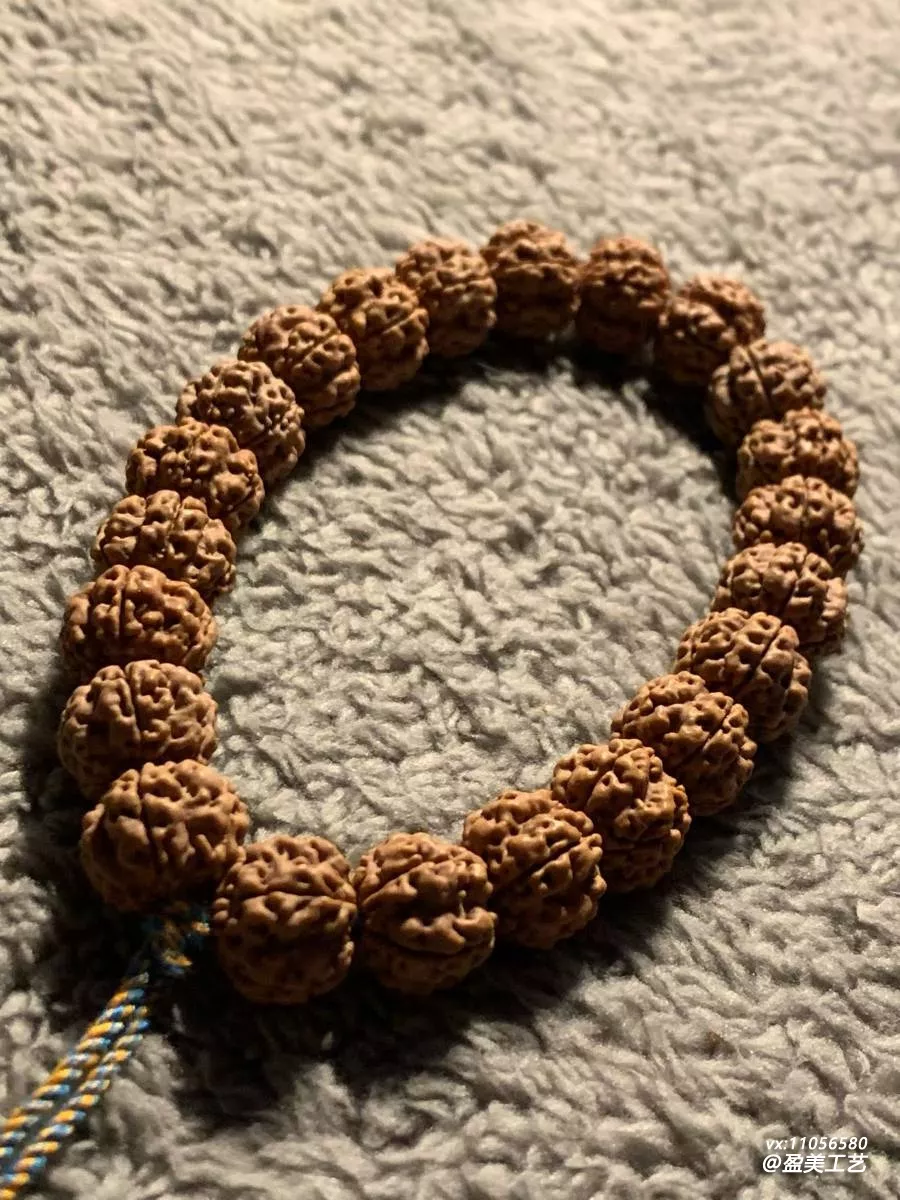
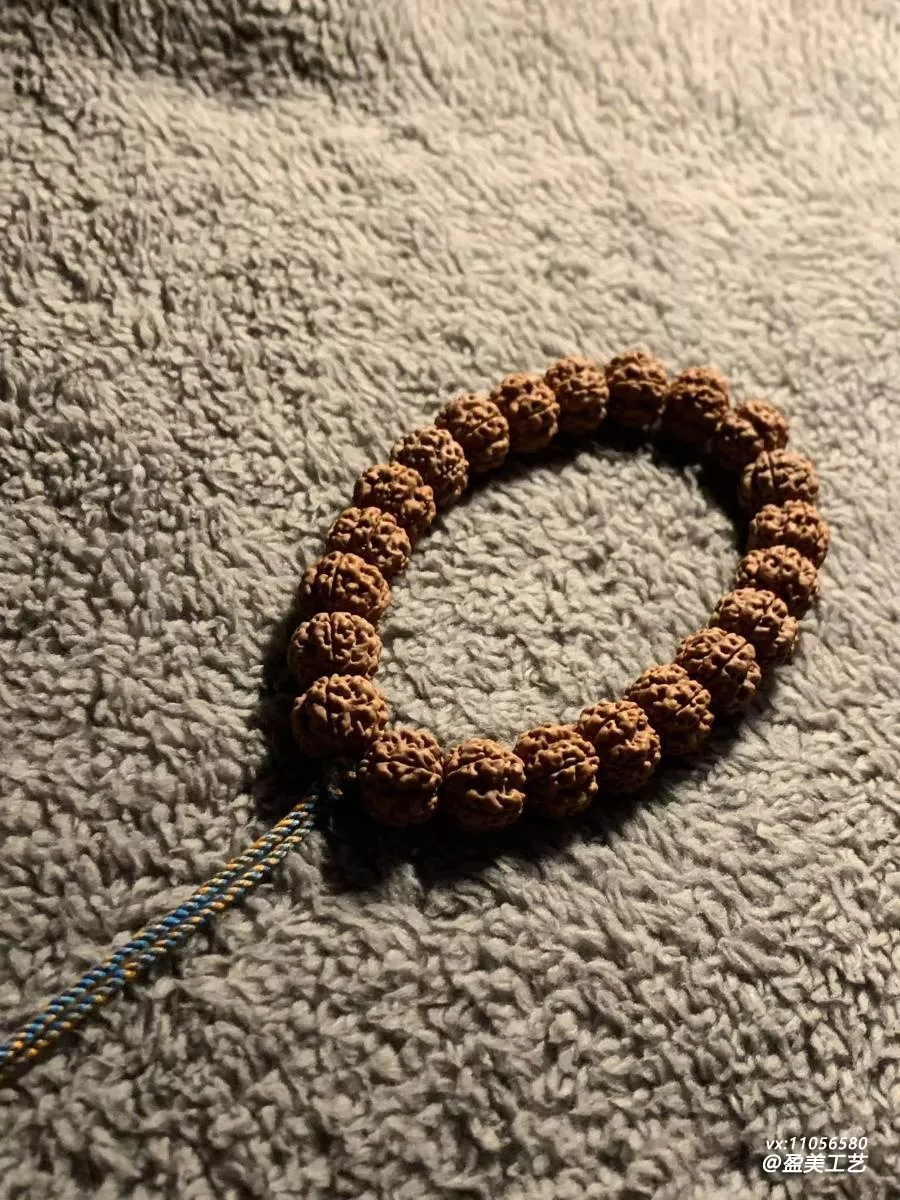
This Rudraksha mala was made last month, and it took three days to pick the seeds. It was quite a process. I thought picking a mala from a pile of raw seeds would be easy, but once I started, I realized it's not easy to pick seeds that are close in size, shape, and texture.
I got a batch of raw Rudraksha (large) seeds from Nepal, about 200+ pieces, ranging from 18mm to 22mm. I wanted to make a 20mm mala, so I first picked out the seeds between 19.5 and 20.5mm.
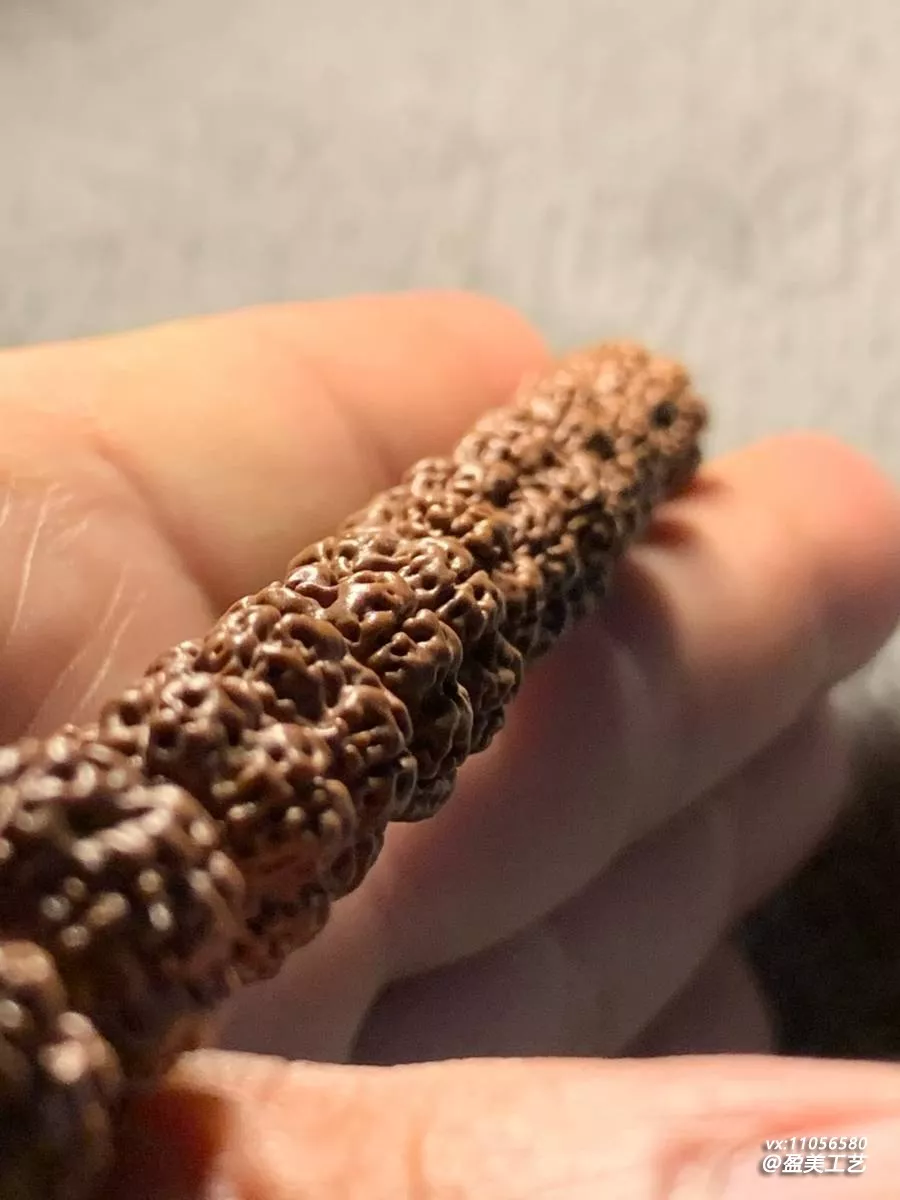
2. First day: initial screening
The first step is to measure the size. I used a caliper to measure each seed one by one, and put them aside after measuring. After measuring more than 200 seeds, about 60+ seeds met the size requirement. This step looks simple, but it's quite tiring for the eyes. After measuring for a while, my eyes got blurry, so I had to take a break before continuing.
After the initial screening, I picked out the seeds with obvious problems. Seeds with cracks, dark patches, very irregular shapes, or crooked holes cannot be used. Out of the 60+ seeds, I picked out another 20+ seeds, leaving about 40 seeds for the next round.
3. Second day: detailed selection
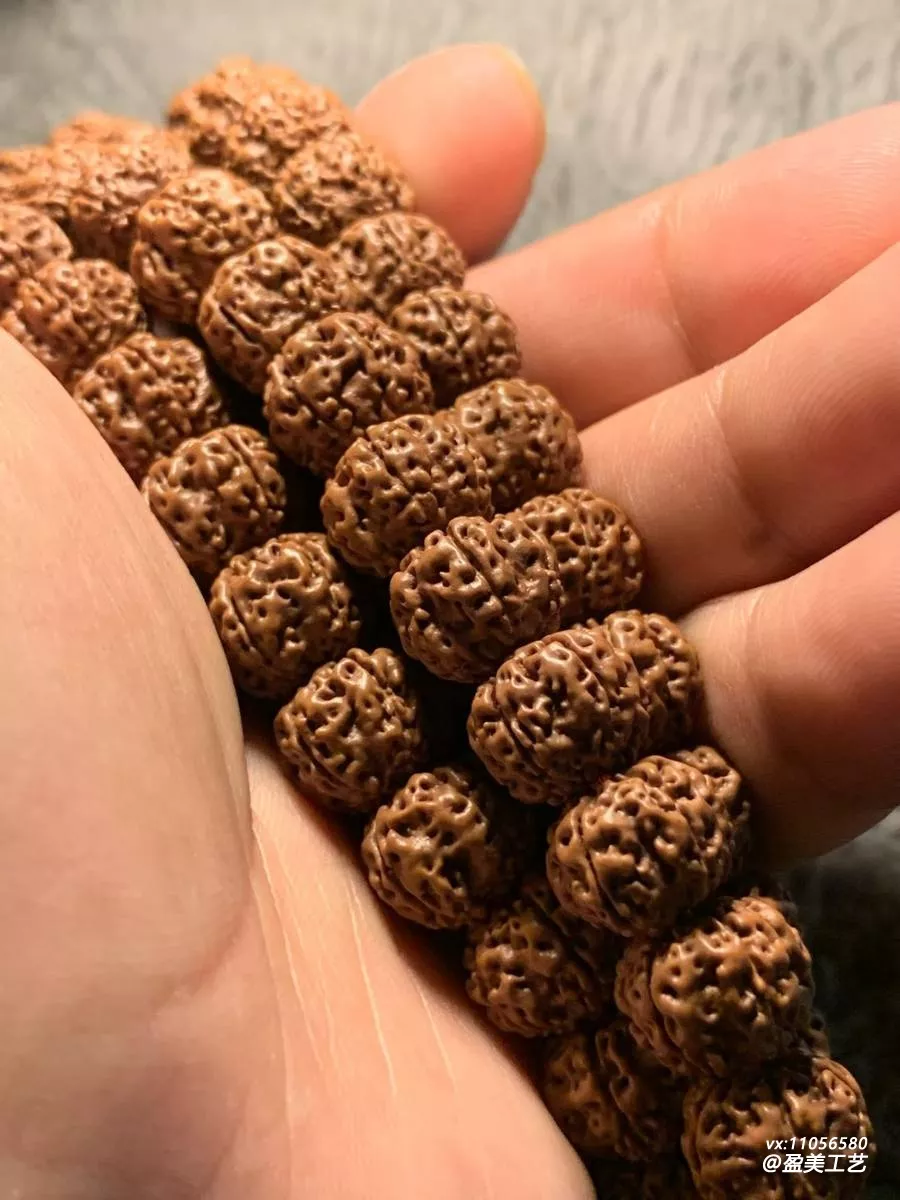
The second day was the most critical day, as I had to pick a mala from the 40 seeds. This step mainly focuses on shape and texture. First, I looked at the shape. I wanted a low-profile shape, where the height is at least 2mm smaller than the diameter. For a 20mm seed, a height below 18mm is considered low-profile. Out of the 40 seeds, about 25 met this requirement.
Then I looked at the texture. The texture needs to be consistent; you can't have one seed with a honeycomb texture and another with a coiled dragon texture, as it won't look good when strung together. Most of my seeds have a plump texture, so I picked based on this style. The plumpness of each seed should be as close as possible; you can't have some very plump and some very thin.
This step was the most time-consuming. I placed the 25 seeds together, looked at them from left to right, picked them up to compare, put them down, and then picked another one. Sometimes I thought one seed was good, but when compared to another, I felt the shape was still a bit off. I spent the whole afternoon picking back and forth, and finally selected 14 seeds: 12 for the main mala and 2 as spare seeds.
4. Third day: stringing
Once the seeds were selected, I started drilling and stringing on the third day. Before drilling, I double-checked the shape of each seed to determine which end is the top and which is the bottom. The hole should be drilled from the top to the bottom, and the hole should be straight. I used a 1.5mm drill bit, set the speed to a slower setting, and drilled each seed slowly to avoid cracking.
After drilling, I started stringing. When stringing, the direction of each seed should be consistent, with the front side facing outward and the side with good plumpness facing outward, so that it looks neat when rotated. I first strung it up to try it on, to see if the tightness was appropriate and if the number of seeds was enough. My wrist circumference is 17cm, and I strung 12 20mm seeds, plus the guru bead, which was just right and had the perfect tightness.
Finally, I adjusted the details: I rotated the seeds that were facing the wrong direction, adjusted the tightness, pulled the knot tight when tying it, and hid the knot inside the hole. After everything was done, I looked at it as a whole again to confirm there were no problems, and then it was finished.
Postscript
It took three days to make a mala, and it's not true that it wasn't tiring. But seeing the finished product, I still felt a sense of accomplishment. Each seed was picked by me one by one, and the size, shape, and texture were as consistent as possible. The overall effect of the mala is indeed better than one put together randomly.
The advantage of picking seeds and stringing your own mala is that you know the condition of each seed, where there are small flaws, and where they are particularly good. Moreover, the size and tightness of the mala are completely suitable for your hand, so you don't have to modify it later. The disadvantage is that it takes time and is tiring for the eyes, and the process of picking seeds is indeed quite time-consuming.