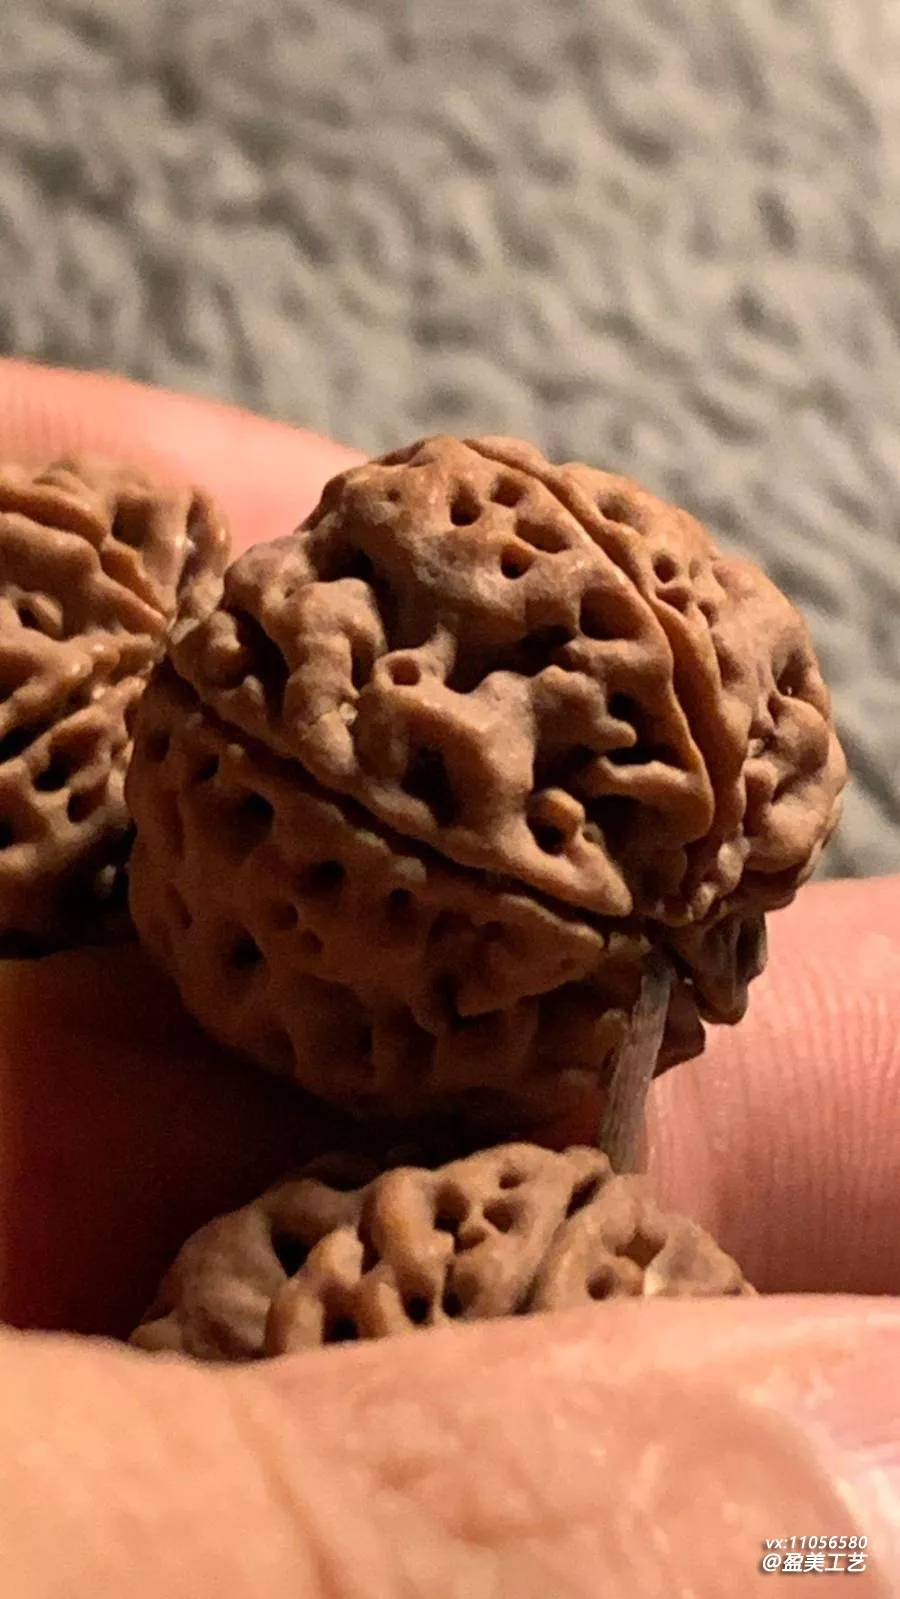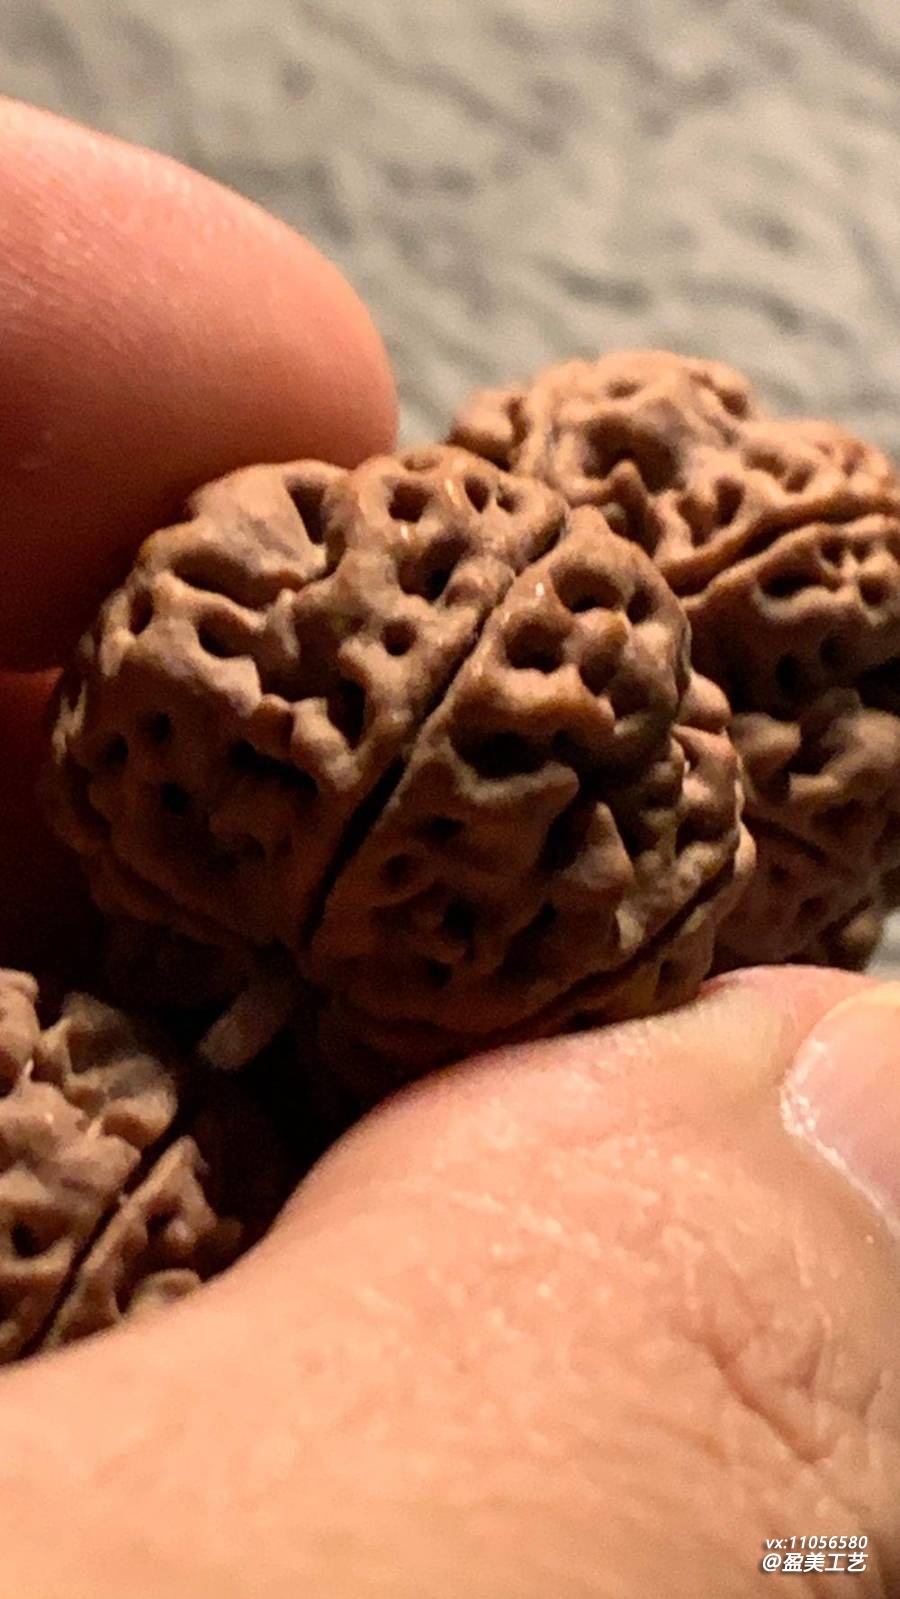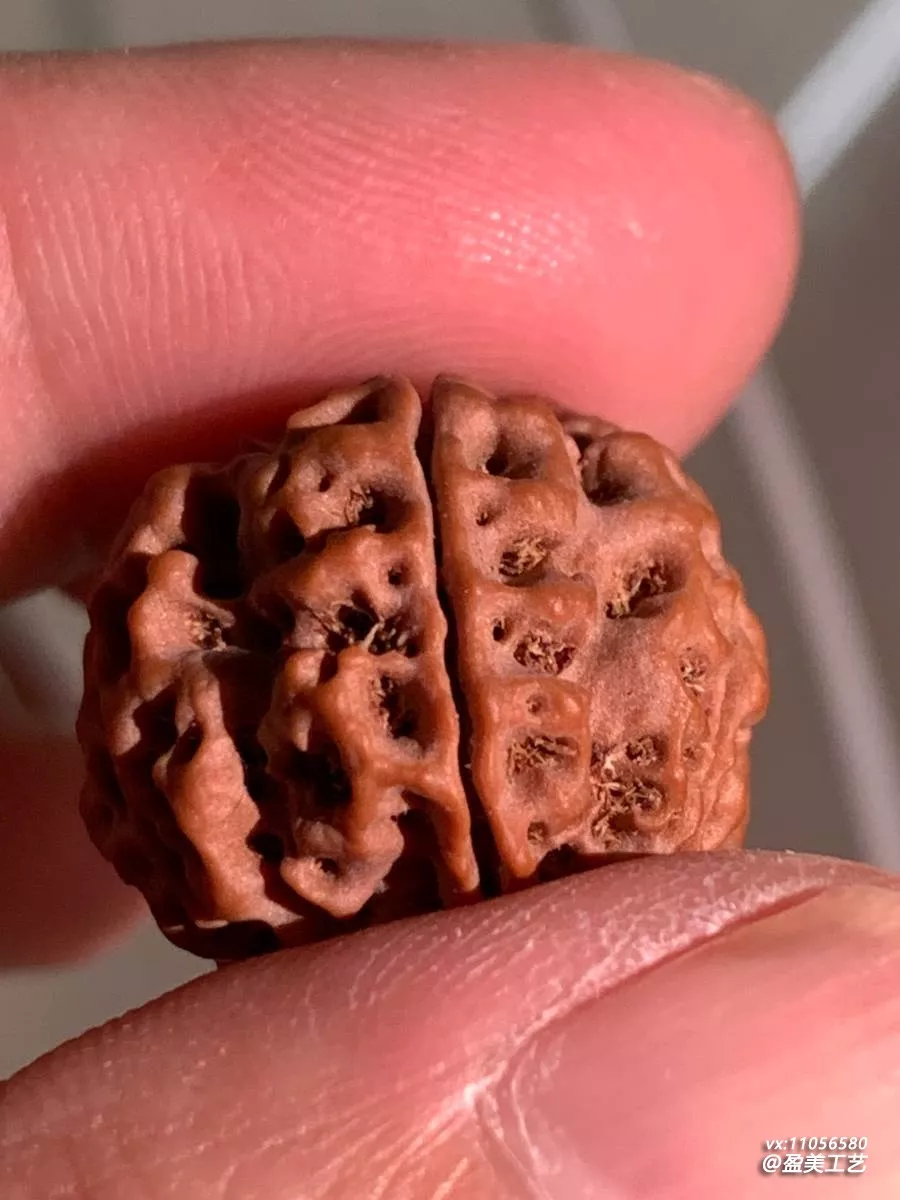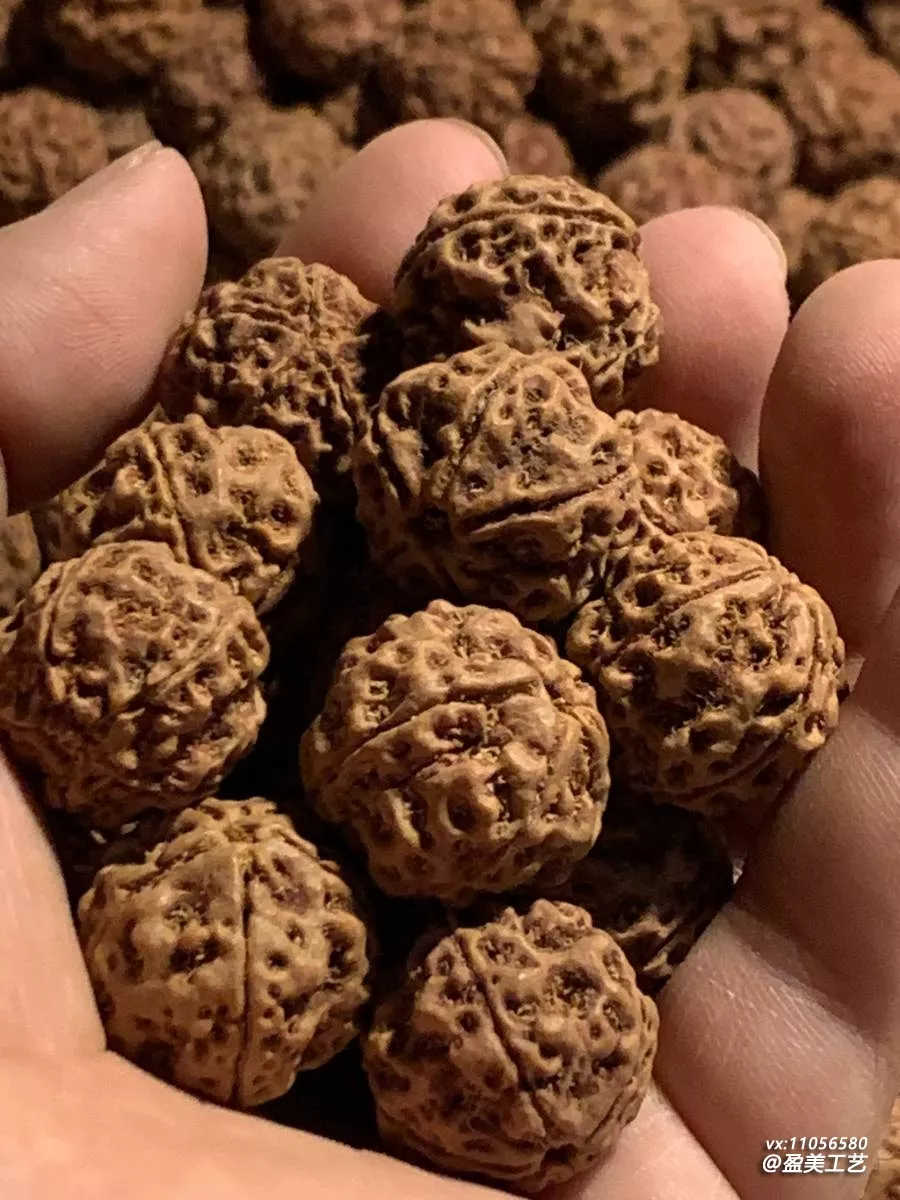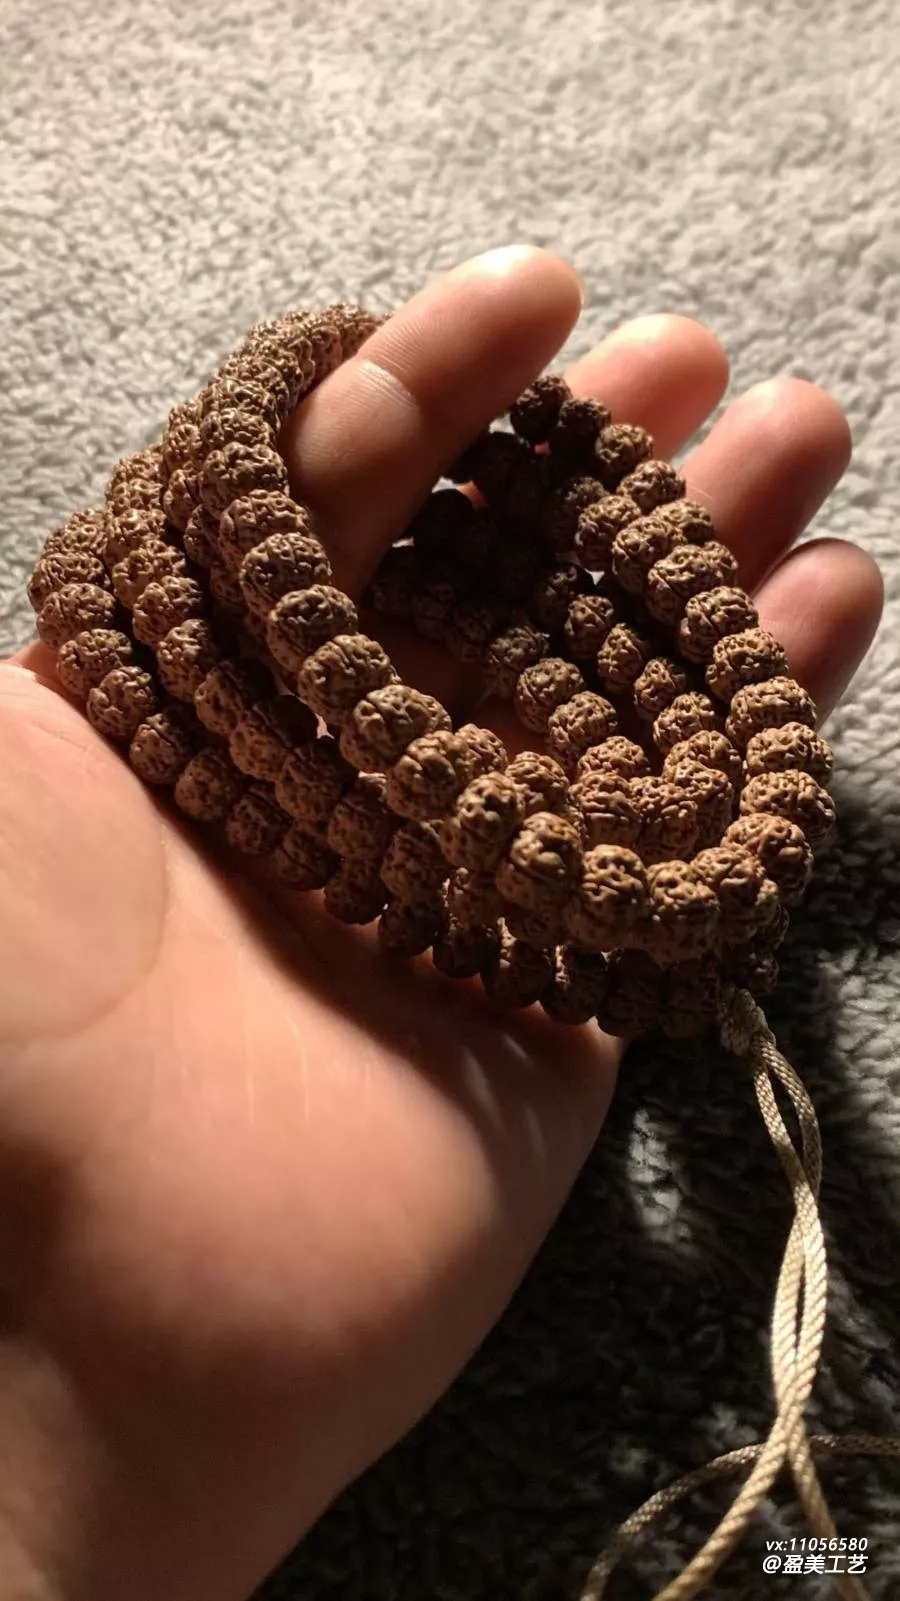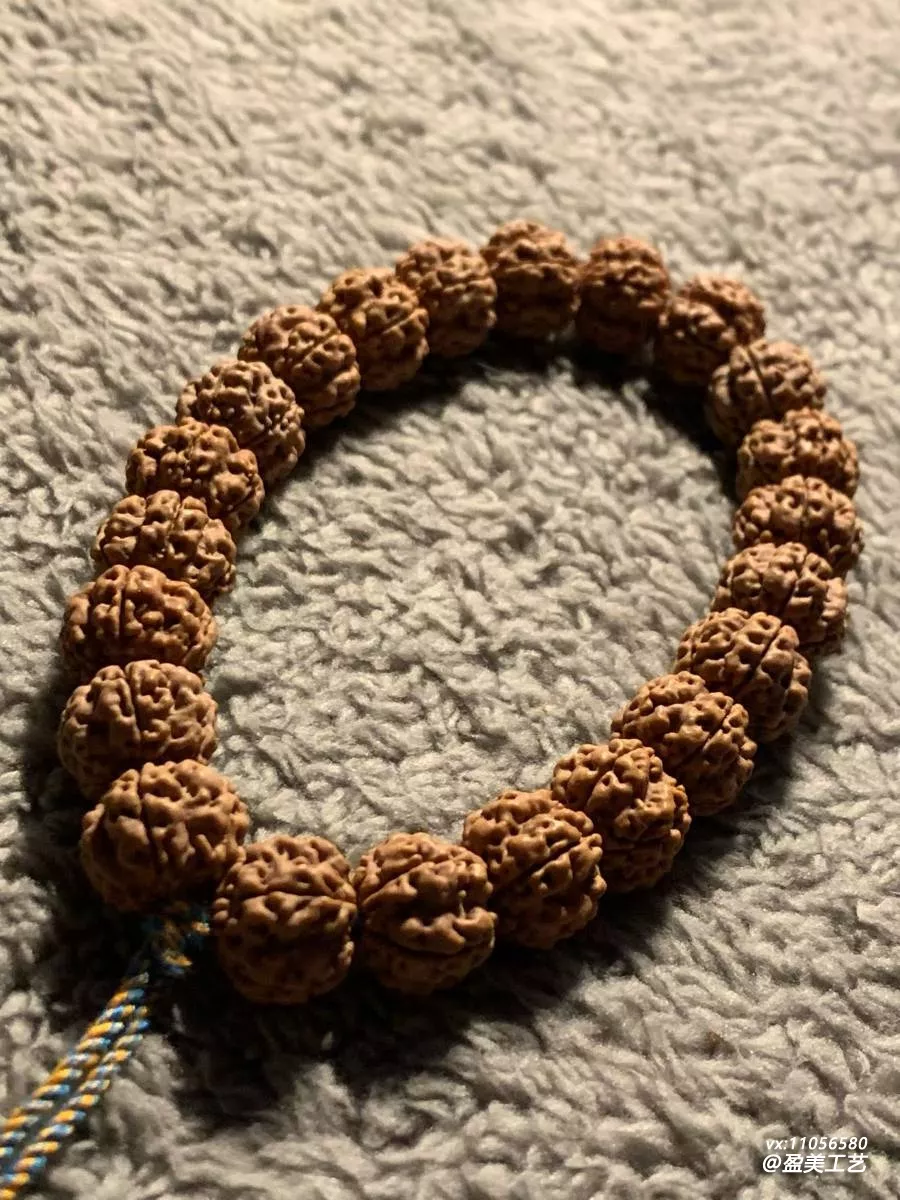
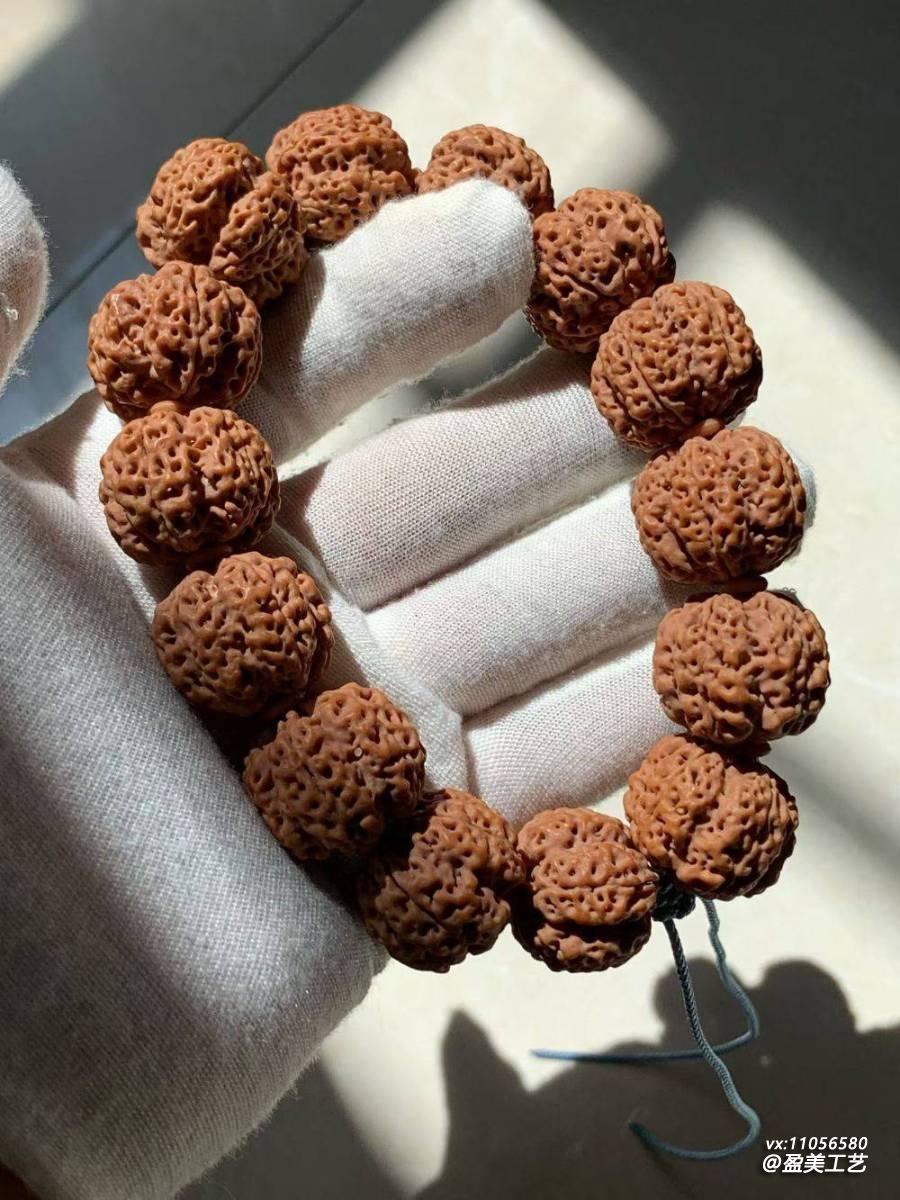
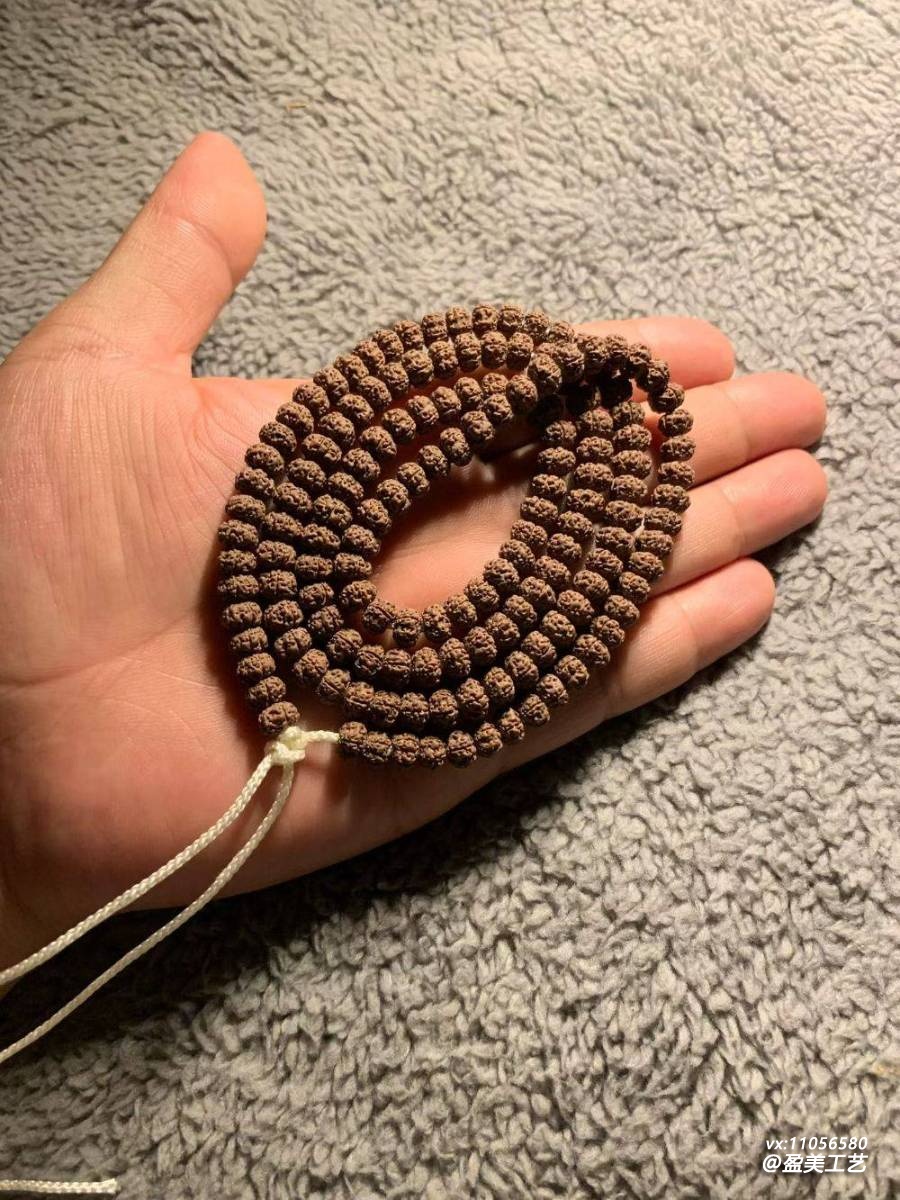
This Rudraksha mala (prayer beads) was made last month, and it took three days to select the beads. It was quite a hassle, honestly. I thought picking a strand from a pile of raw seeds would be simple, but once I actually got into it, I realized that finding seeds with matching size, shape, and grain was no easy task. I'm documenting this process today as a reference for friends who want to select and string their own beads.
Day 1: Initial Screening — Nailing Down the Size
What I received was a batch of large Rudraksha seeds from Nepal, about 200-plus seeds, ranging from 18mm to 22mm. The first step was to check sizes. I was making a 20mm mala (prayer beads), so I first picked out seeds between 19.5mm and 20.5mm.
I measured each seed one by one with calipers, setting each aside after measuring. After going through over 200 seeds, about 60 met the size requirement. This step looks simple but is quite straining on the eyes — by the end, my eyes were blurry, and I had to rest before continuing.
After the initial screening, I removed seeds with obvious issues — cracked ones, ones with dark patches, badly misshapen ones, and ones with crooked holes. None of these were usable. From the 60-plus, I removed over 20, leaving about 40 for the next round.
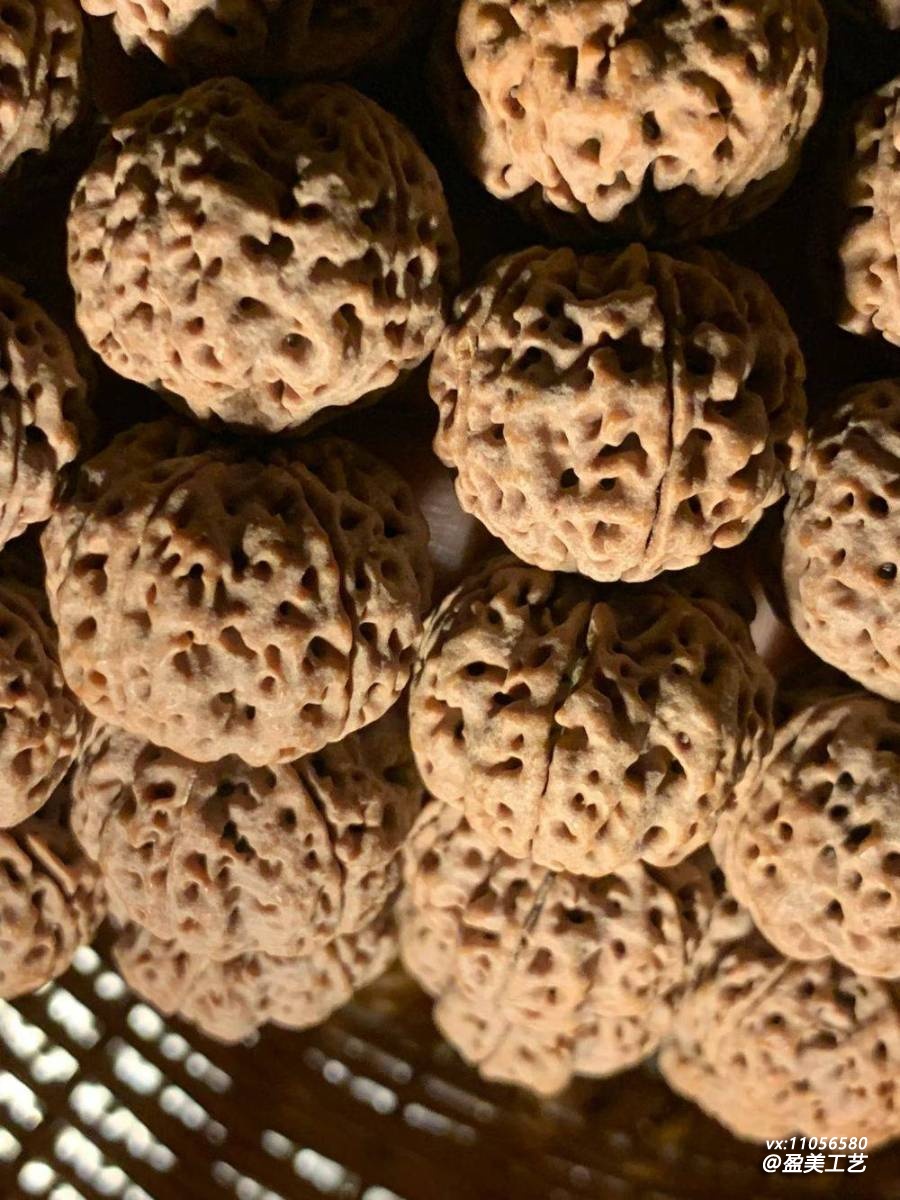
Day 2: Fine Selection — Matching Shape and Grain
Day two was the most critical day — picking one strand from the 40 seeds. This step focused on shape and grain.
First, I looked at shape. I wanted short seeds, so I removed all tall ones. The standard for short is a height at least 2mm less than the diameter. For a 20mm seed, a height under 18mm counts as short. Of the 40 seeds, about 25 met the short standard.
Then I looked at grain. The grain had to be consistent — I couldn't have one seed with honeycomb pattern and another with coiling dragon pattern; they wouldn't look good together. Most seeds in this batch had a combination of honeycomb and double-dragon patterns, so I selected based on that style. The depth of the honeycomb and the prominence of the dragon-ridge (ridge line) had to be as close as possible — not some very deep and others very shallow.
This step was the most tedious. With 25 seeds laid out, I looked left and right, picked one up to compare, put it down, and swapped in another. Sometimes I thought a seed was great, but comparing it to another, the shape still seemed slightly off. I went back and forth all afternoon and finally chose 14 seeds — 12 for the main strand and 2 as spares.
Day 3: Drilling and Stringing — Fine-Tuning Details
With the seeds selected, day three was for drilling and stringing.
Before drilling, I re-checked each seed's shape to determine which end was the top and which was the bottom. Drilling had to go from top to bottom, and the hole had to be straight, not crooked. I used a 1.5mm drill bit, keeping the speed slow to avoid cracking the seeds. After each hole, I checked whether it was straight.
Once the holes were done, I started stringing. During stringing, I paid attention to each seed's orientation — the front facing outward and the dragon-ridge (ridge line) direction consistent, so the strand looks neat when rotated. I strung it up and tried it on to check the fit and whether the bead count was right. My wrist circumference is 17cm, and 12 seeds of 20mm, plus the guru bead, fit perfectly.
Finally, I fine-tuned the details. I rotated seeds that were facing the wrong way, adjusted the tightness, pulled the knot tight, and tucked it into the hole. After everything was done, I gave it one final overall check, and once I confirmed there were no issues, it was complete.
Wrapping Up
Making a mala (prayer beads) took three days, and it would be a lie to say it wasn't tiring. But seeing the finished product, I felt a real sense of accomplishment. Every seed was hand-picked by me, with size, shape, and grain as uniform as possible — the overall result is definitely better than a hastily assembled strand.
The advantage of selecting and stringing your own beads is that you know every seed's condition — where the small flaws are, where it excels. You have full awareness. Plus, the size and tightness fit your wrist perfectly, no adjustments needed later. The downside is the time and eye strain — the selection process is genuinely draining.
If any friends want to select and string their own beads, I'd advise patience — don't rush. Loosen the standards a bit during initial screening, then tighten them during fine selection. Compare more, look more, and the seeds you pick won't disappoint.