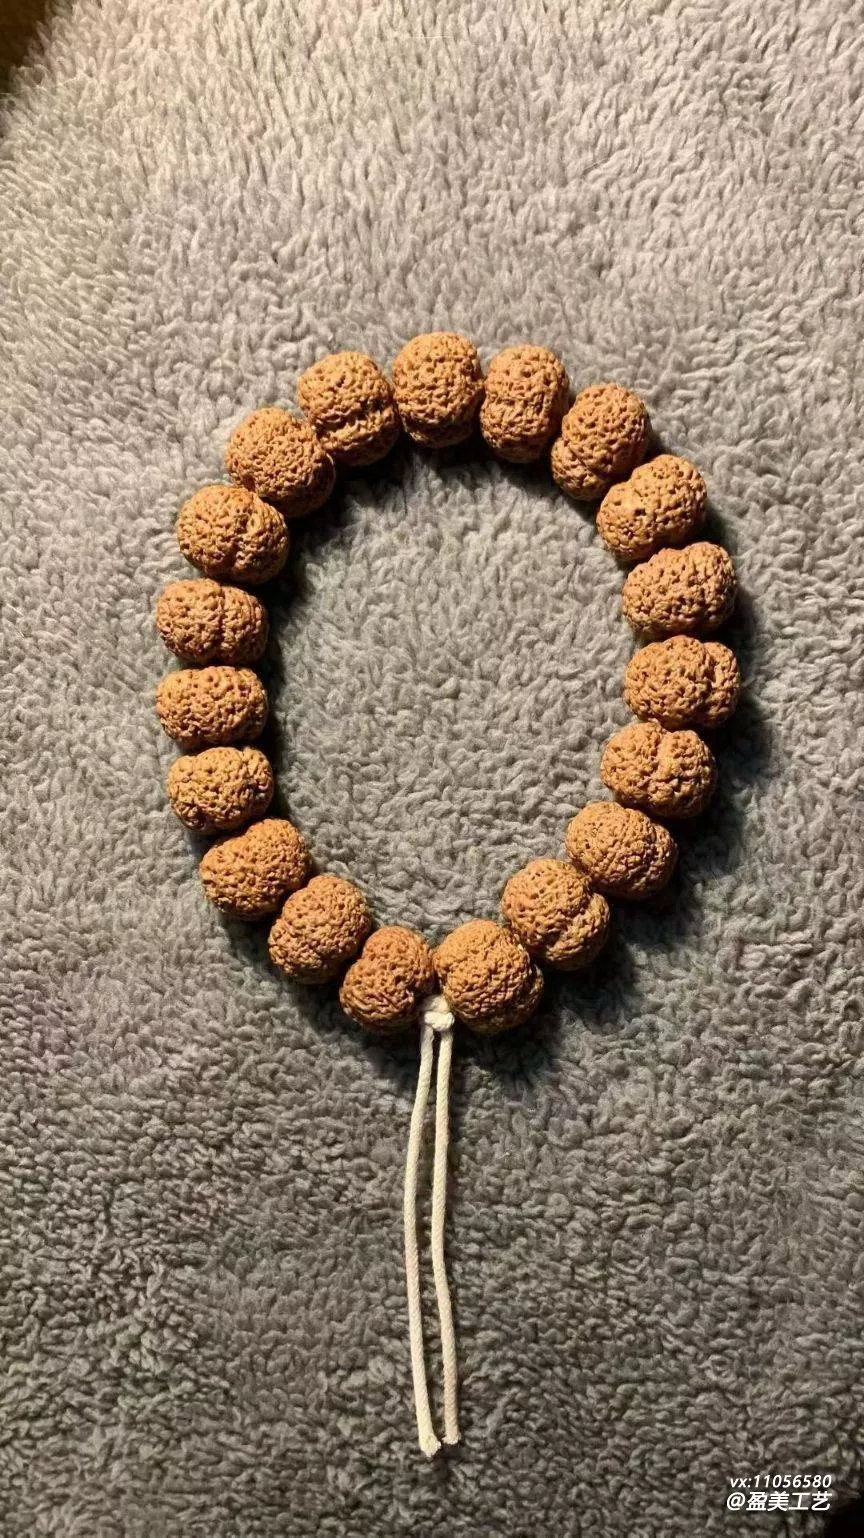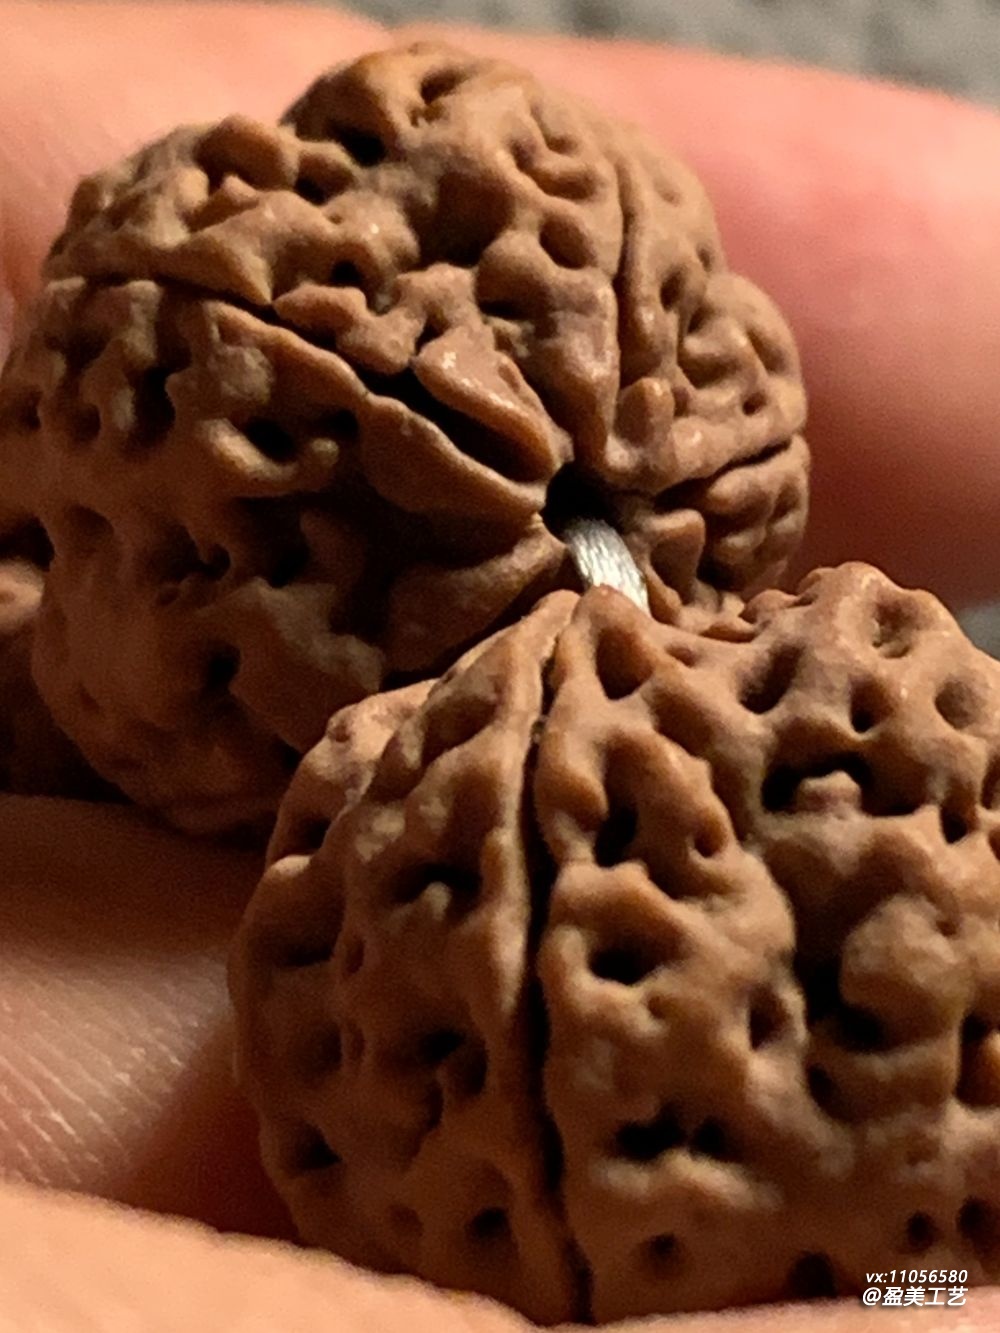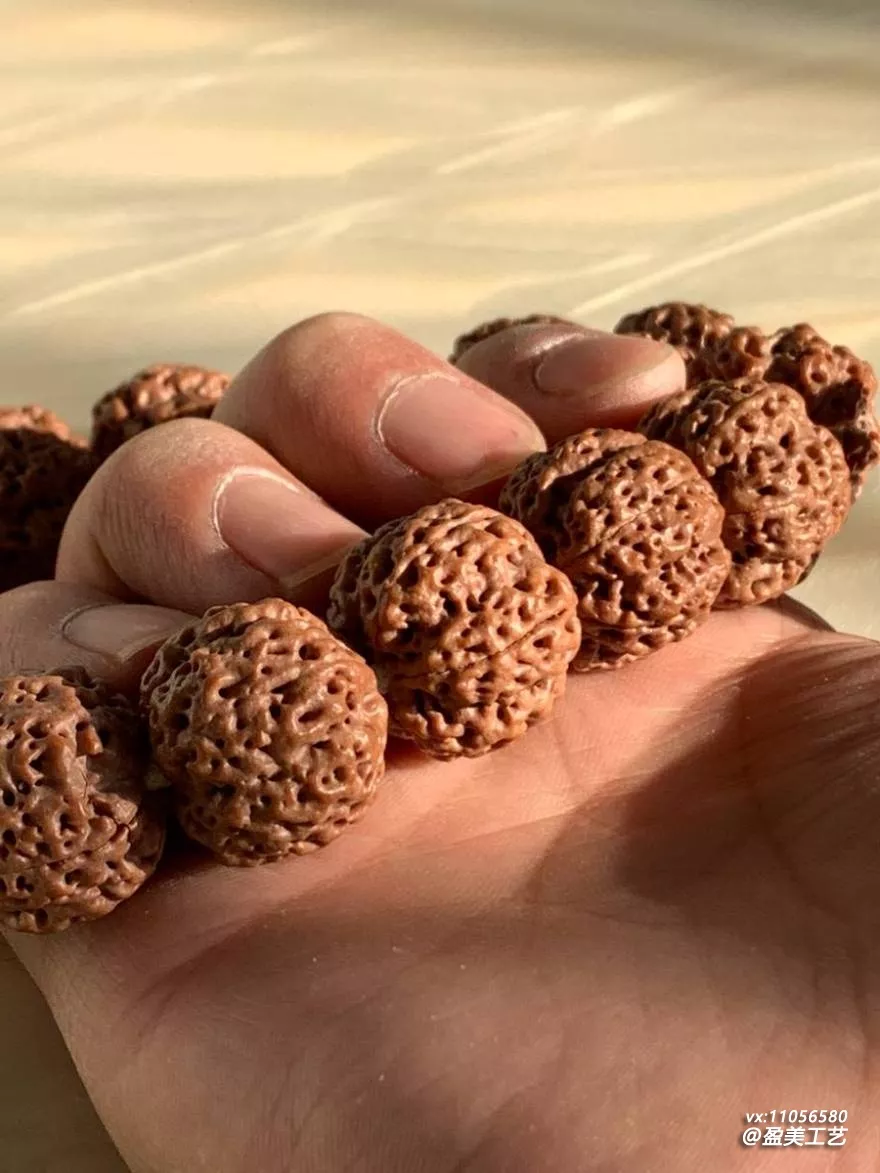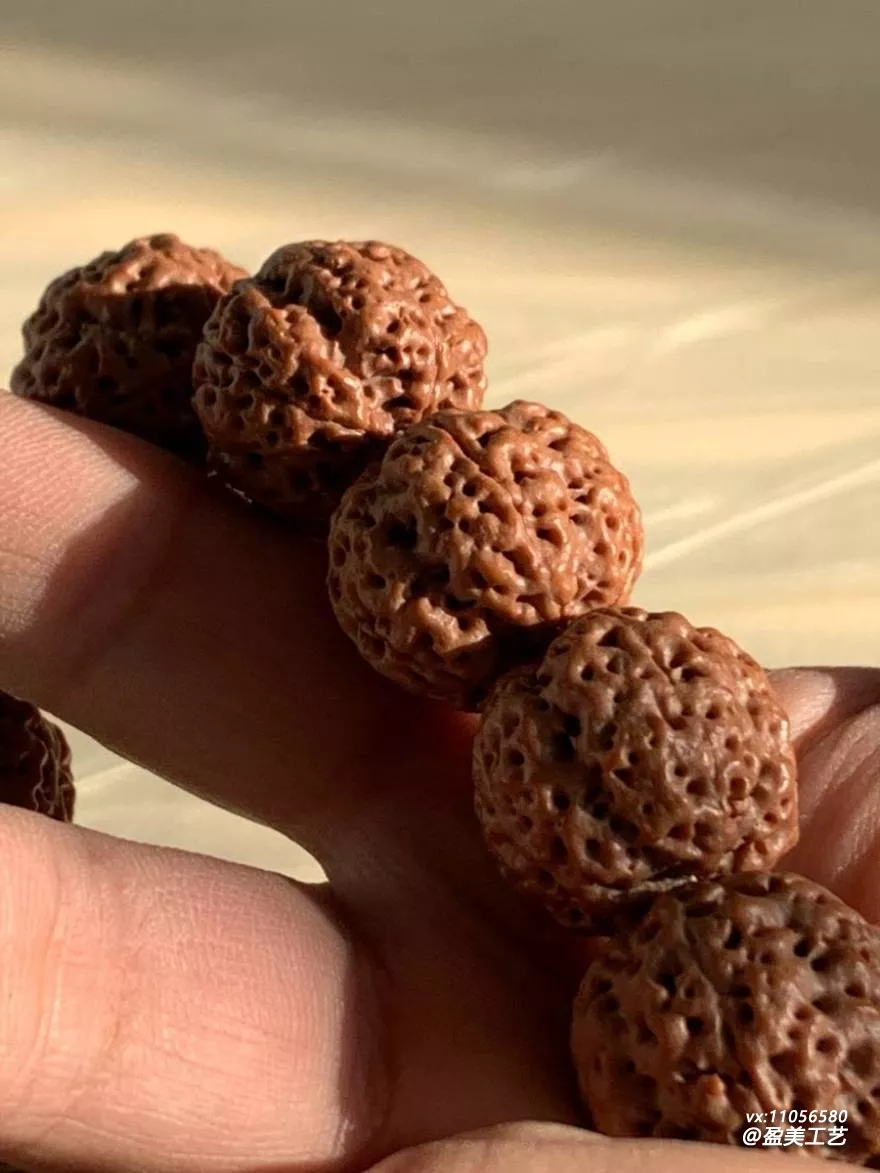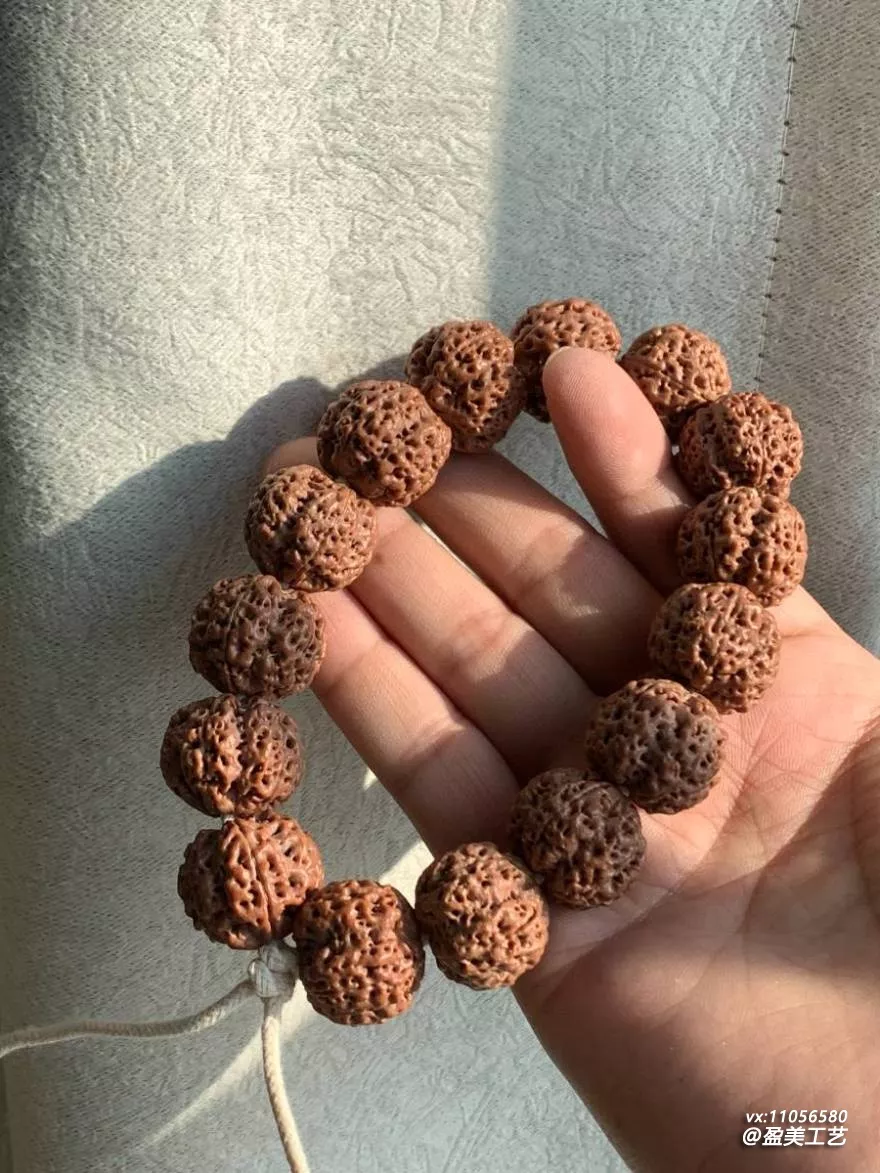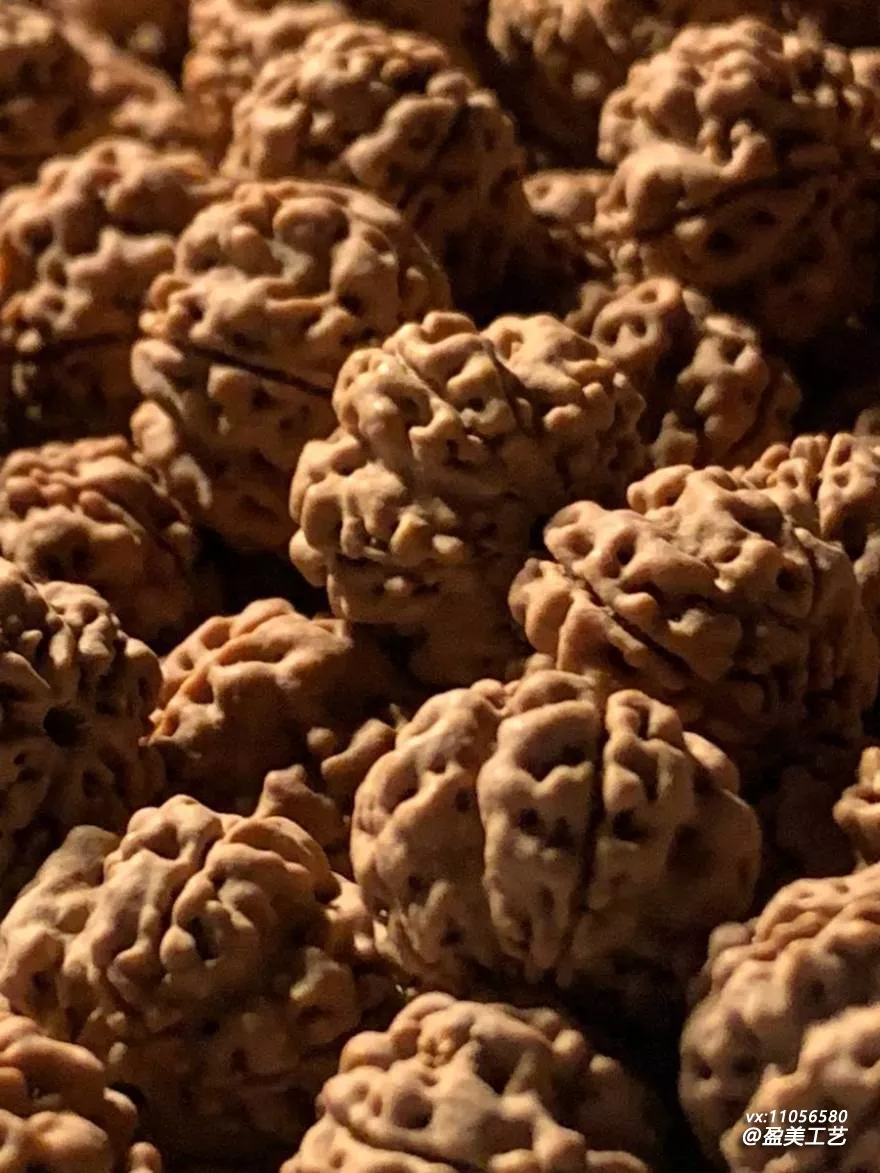
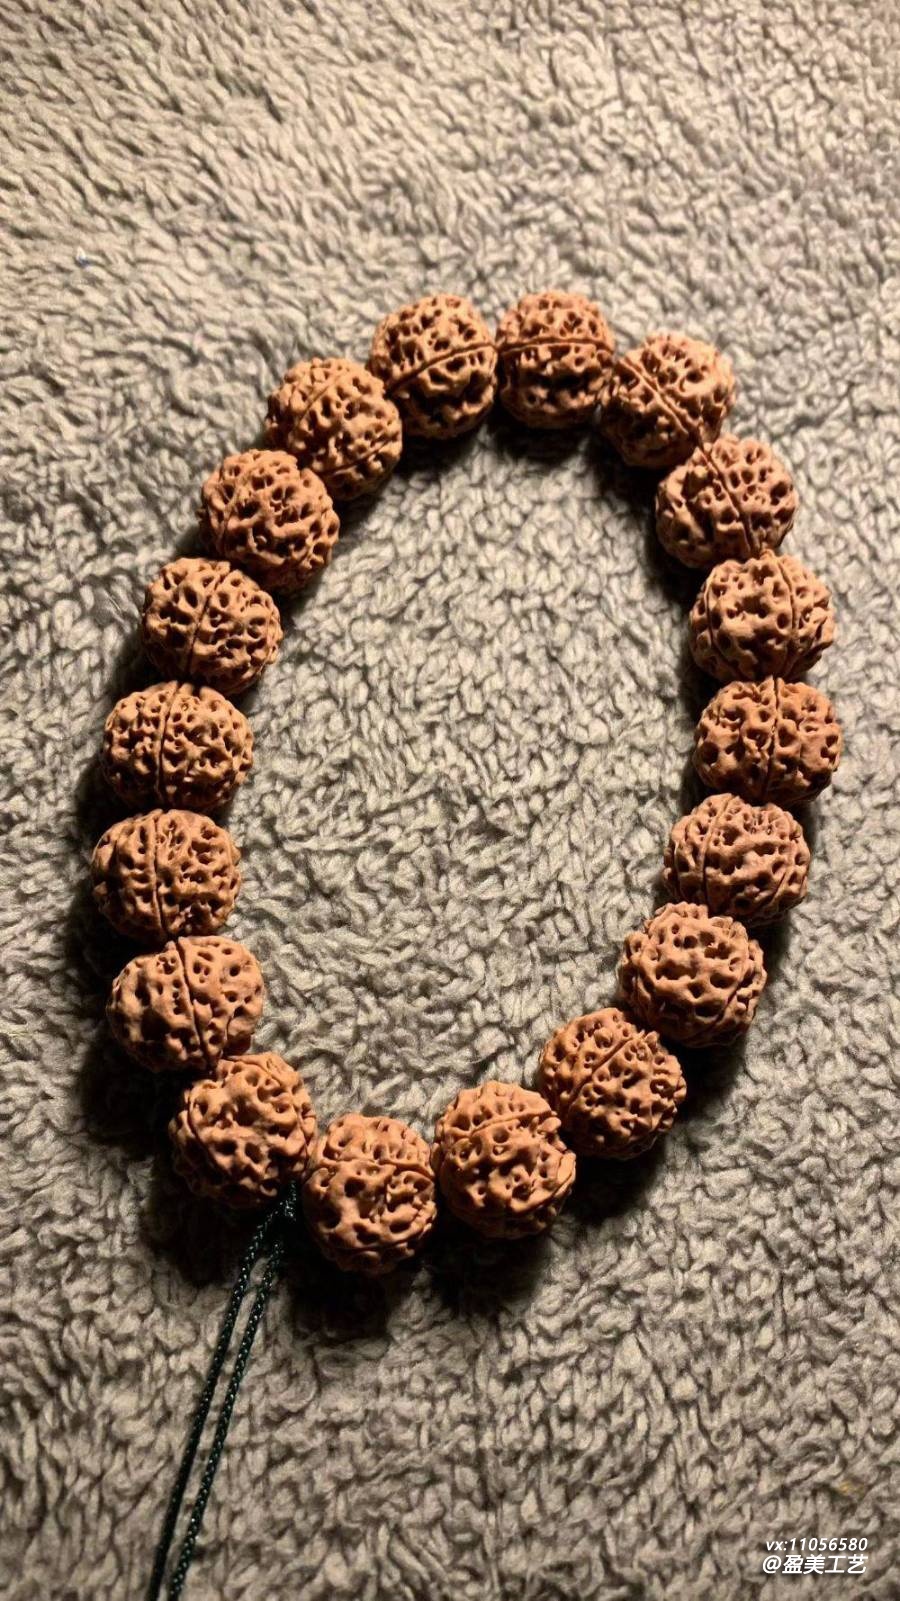
Friends often ask me what the exact process is for customizing a Rudraksha (large) mala. Today I’ll outline the steps I follow for custom orders, from initial communication to final assembly and shipping, breaking it down step by step. This way, anyone looking to customize will have a clear idea of how their mala is made.
1. Communicate Requirements
The first step in customization is communication, which is the most critical part. I usually start by asking a few questions: What’s your wrist size? What grain texture do you prefer? What’s your approximate budget? Do you want accessories? Wrist size determines how many beads are strung, grain texture determines the type of beads to choose, and budget determines the grade of material you can select.
Some friends immediately say "Give me a good mala," which makes it difficult. The definition of "good" varies for everyone—some think deep grain texture is good, some think short crown shape is good, and some prioritize high density. So during communication, I try to ask detailed questions to clarify requirements, so I have a clear direction when selecting beads.
Another point to clarify in advance: natural beads can never be exactly identical. Customization can only achieve close consistency, not perfect replication. If you require every bead to have identical grain texture, crown shape, and size, that’s impossible—natural items will always have slight differences.
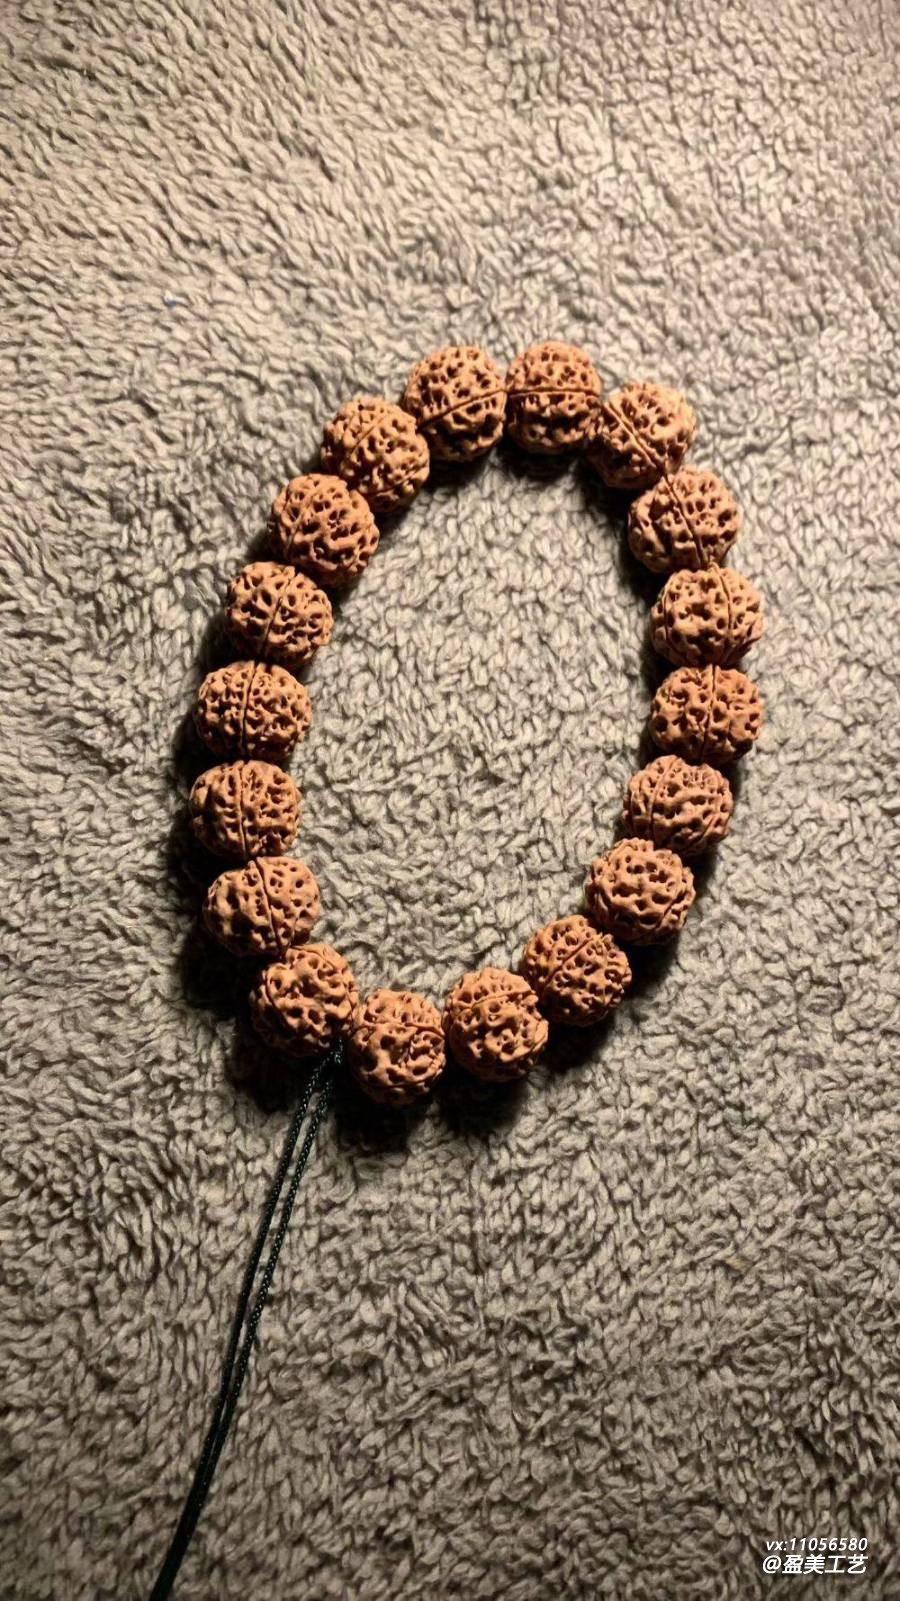
2. Select Beads
Once requirements are confirmed, bead selection begins. This is the most time-consuming step and tests patience the most. I usually first sift through a batch of beads by size, pick out those with suitable dimensions, then check each one by crown shape, grain texture, and skin color.
I have several criteria for selecting beads: first is density—they should feel heavy in the hand; lightweight beads are immediately rejected. Second is skin color—yellow skin or red skin is fine, but no stained or uneven skin. Third is crown shape—must be uniform, no one bead taller or shorter than another. Fourth is grain texture—style should be consistent, not one honeycomb texture and one dragon-scale texture.
A mala is usually selected from dozens or even hundreds of beads. After picking, I compare them again to assemble the most consistent set. Sometimes I end up missing one bead at the final step and have to search again, which is quite tedious. But that’s how customization works—missing one bead will ruin the overall look, so we can’t settle for less.
3. Measurement and Drilling
After selecting the beads, calculate how many to string based on wrist size. Divide wrist size by the diameter of a single bead, then adjust by adding or subtracting one or two beads. Here’s a detail: measure the widest part of the bead, not along the hole direction. Some friends measure the wrong way, leading to an ill-fitting mala.
Drilling is also important. Holes must be drilled straight, not crooked—crooked holes will make the beads twist when strung, which looks bad. Also, holes must be smooth, no burrs, otherwise the string will fray when threading. I usually use a 1.5mm drill bit, which gives a moderate hole size that works for both elastic cord and jade cord.
When drilling, be careful not to crack the beads. Some beads have hidden cracks that will split open when drilled, so those have to be discarded. So before drilling, I check again and replace any problematic beads in advance.
4. Stringing and Finishing
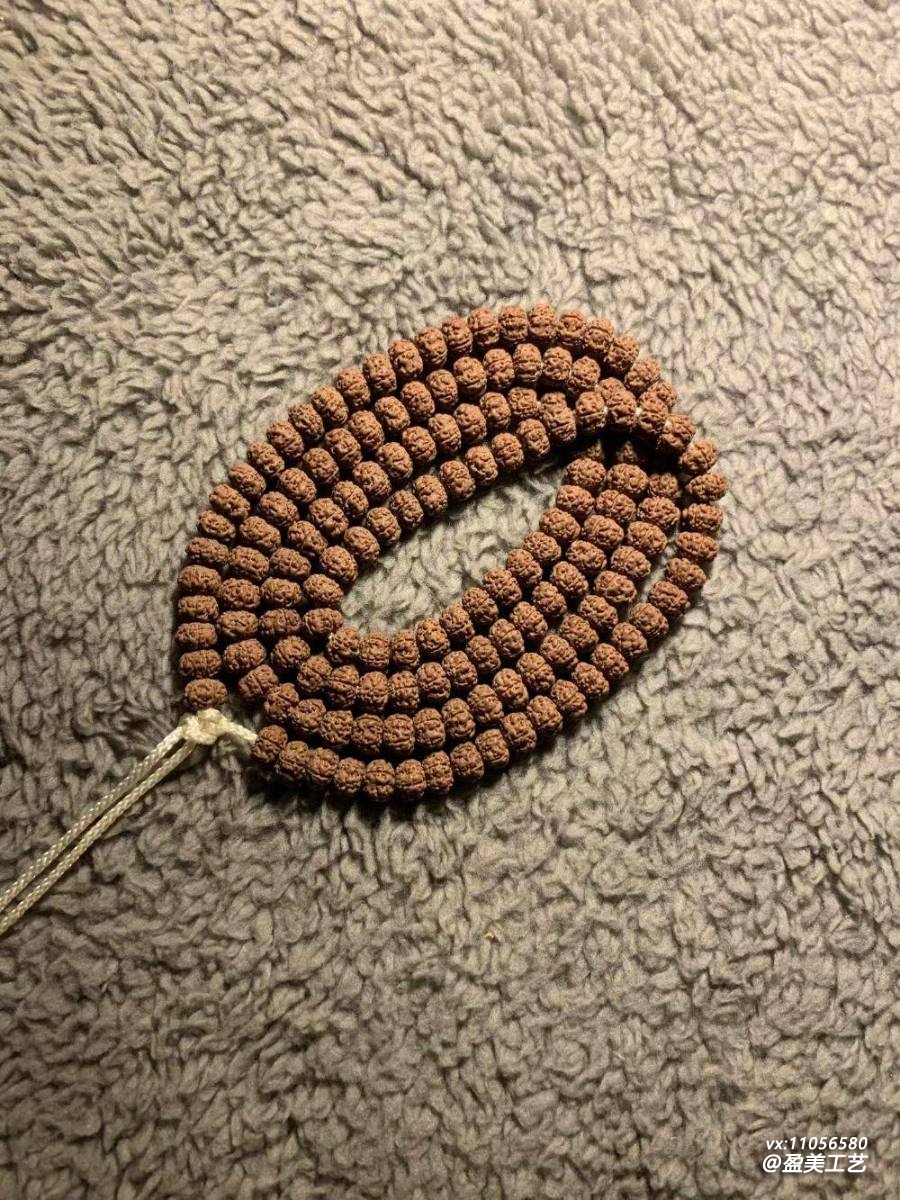
After drilling, start stringing. Pay attention to direction when stringing: the front of each bead should face outward, and the dragon-ridge direction should be consistent, so it looks neat when rotated. If using spacers, place them between two beads, not crooked.
After stringing, tie knots. For elastic cord, usually tie two tight knots, pull the knots tight, then tuck them into the holes to hide them—this looks neat and won’t come loose easily. For jade cord, you can weave a snake knot or a Rudraksha knot, then burn and seal the end.
The final step is inspection. After stringing, I try it on my wrist to check the fit, rotate it to see if each bead is oriented correctly, no crooked ones. Then double-check for any damaged or stained beads, and only ship after confirming everything is okay.
Some Reflections
Customizing a mala, from communication to shipping, takes two to three days at the fastest, up to a week at the slowest. Most time is spent selecting beads—good beads are hard to find, sometimes I have to go through multiple batches to assemble a complete mala. But when the finished mala fits well and looks neat, and the customer is satisfied, the effort is worth it.
If any friends want to customize, you can tell me your wrist size, preferences, and budget in advance. I’ll first provide a plan, and we can proceed only if you think it’s suitable. For Buddhist mala items, personal preference matters most—don’t chase the most expensive one, the one that suits you is the best.